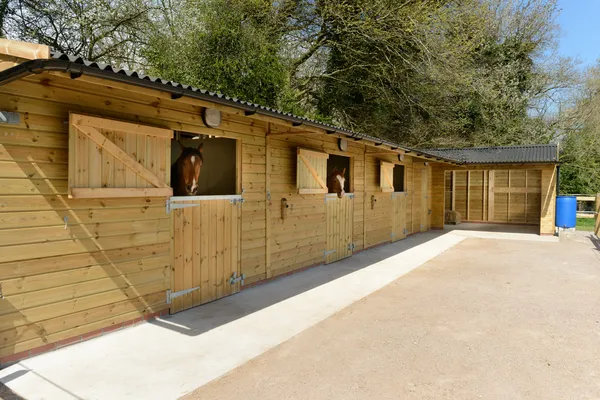
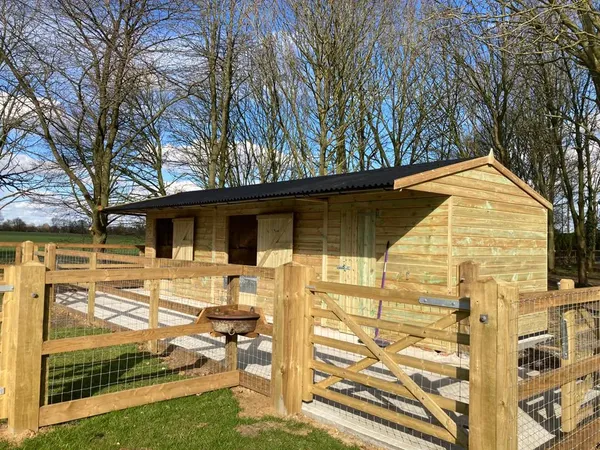
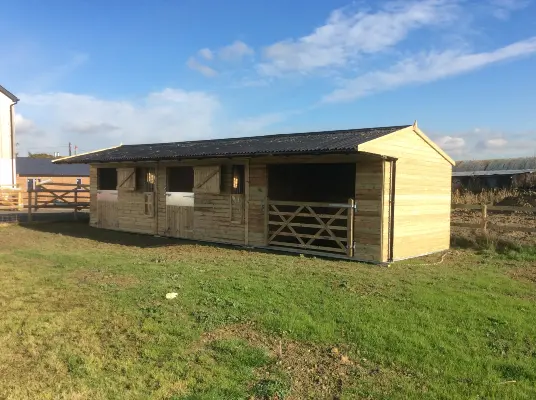
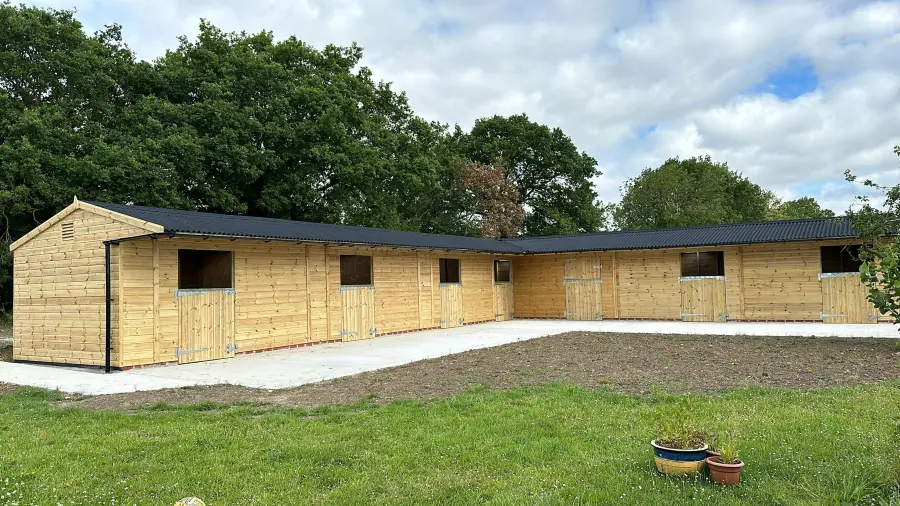
Wood Preservation: How To Make Your Stables Last
Timber stables don’t require preserving - they are maintenance-free for many years. Find out when staining becomes necessary in this article.

Many people who buy (or are about to invest in) new timber stables research ways to preserve wood as best as possible, so they can keep them in top condition for a long time. However, pressure-treated timber goes through a chemical process that protects it from the elements for years.
For this reason, high quality pressure-treated wood doesn’t need painting or staining in order to retain its properties - it can sit in the rain, snow, and sun year-round. It is safe from fungi and termite attacks as it is, without applying any wood preservers. This is one of the big advantages of pressure-treated timber - it is virtually maintenance-free.
You can, however, stain the wood for aesthetic purposes. For example - if you would like the wood to look a certain shade of brown, rather than seeing it grey naturally.
Is it better to paint or stain pressure-treated stables?
We recommend staining pressure-treated wood, rather than painting it. Paint rarely sticks to wood well. It is indeed possible to paint your stables, but it is a lengthy and complicated process. Wood staining offers great-looking results and is a lot simpler. It is also a lot easier to keep on top of staining, rather than painting.
How long should you wait to stain pressure-treated wood?
Staining only becomes necessary once your stables are about 15 years old. If you’d like to extend their life span, you can start staining them once they get older. Once you start the process, though, you need to keep on top of it. This is why we suggest waiting until it is truly necessary to do it.
If you would like your stables to achieve a certain look when they are still brand new, wait at least three to four months. The wood needs to be completely dry in order to absorb the preserve. You will know it is ready to stain when it absorbs water, rather than repelling it.
Wood stain options
There are a number of good wood stains on the market, available in most DIY stores. Many people choose Dulux, which dries very fast and offers great opacity. If you are not in a rush, Sadolin Extra Durable Woodstain takes a long time to dry, but supposedly has the best finish.
Look for a more sustainable product? Look into Celtics Sustainable stains, such as the Auro 160 Wood Stain. These are organic, non-toxic, and eco-friendly. In any event, we recommend using a water-based stain, not oil-based.
How to stain pressure-treated wood
We will now look at how to stain pressure-treated timber. Whether you stain new or old wood, it is important you follow these steps for a good result.
Prepare the wood
For new pressure-treated wood, simply wait until it is dry before you stain it. Older wood, on the other hand, will need cleaning. Wash it down to remove any dirt from its surface. The easiest way to do this is to use a pressure washer. Once you have done this, the timber will need to dry thoroughly - this can take weeks or months, depending on the weather. It is a good idea to wash the wood in the spring or early summer, so it will dry faster.
To understand whether the wood is dry enough, do a bead test. Drip a little water on the stables, in different spots, and see if the water beads or not. If it does, you need to wait longer.
Choose a weather window
Read the instructions on the stain you bought and find the drying time. Most products need 24 to 48 hours. Plan your project around the weather - look for a dry spell in the forecast.
Get the stain ready and test it
Most products need mixing or shaking before application. Do not rush this - it is important to amalgamate the stain well for the stain to work well. Once it is ready, test it on an inconspicuous area, such as the back of the stables. Let the test area dry out and check any wetness issues. Additionally, make sure you are happy with the final colour.
Stain the stables
Finally, it’s time to stain the whole stables. Start at the top and work your way down, so you can cover any drips or runs. Always brush in the same direction - back brush strokes will distribute more stain, causing the colour to look uneven. Mix the product regularly throughout the application. If there are any exposed ends, apply more coats, as these absorb the stain more. Work in as many coats as the product instructions recommend.
These are the steps to staining timber stables. Remember that you do not need to go through the process until the pressure-treated wood becomes old - around 15 years from the build. At that point, you can stain it to ensure it stays in good condition for longer.